Cheapest Diesel Night Heater on eBay test / review

YouTube player

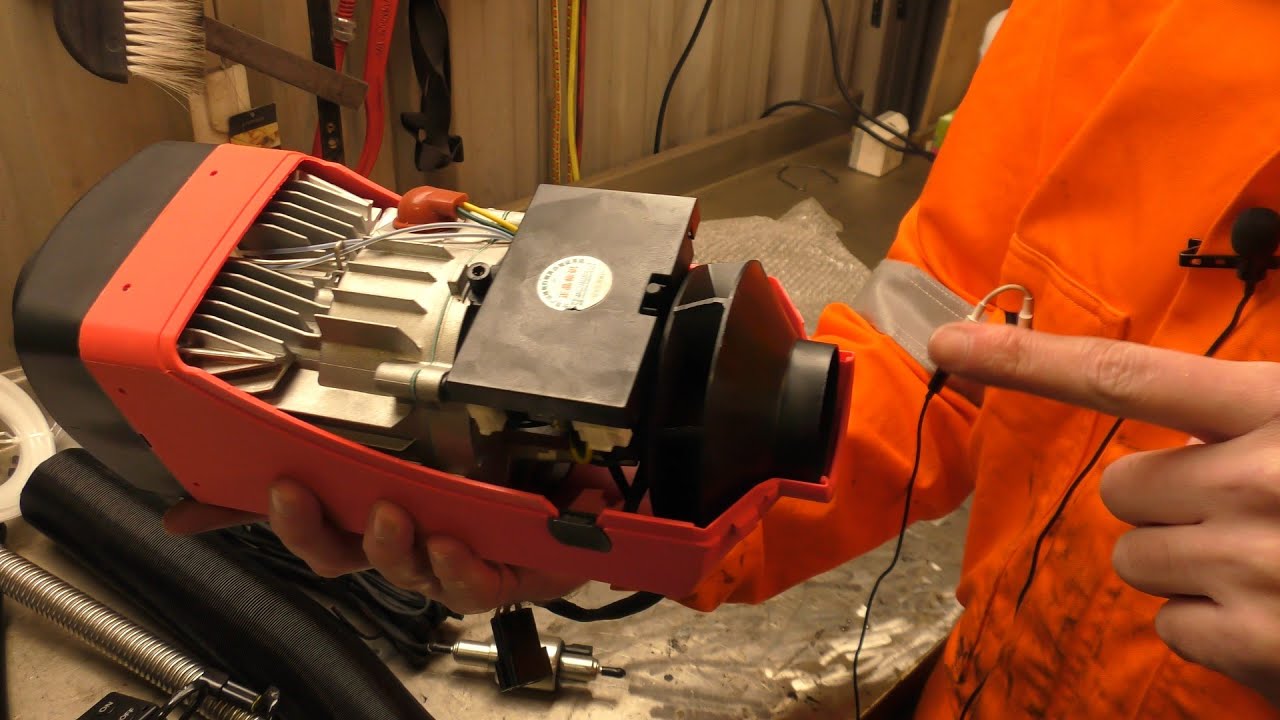
I bought the cheapest diesel heater you could get on eBay.

Here is where I’m going to share the results of any tests I do.

Tests

Fuel consumption:

Max 250ml per hour
Min 100ml per hour

Power consumption:

At 12 volts there is a start-up current of 10 amps.  This is to heat the glowplug and start the burn.  After a few minutes, the glow plug goes out once a self-sustaining flame has started.  Then power use goes down to 1 – 2 amps.

Noise:

Difficult to measure in the workshop, it being a big metal box.  It’s certainly not silent, but you don’t have to shout over it.  I think once properly located and installed it’ll quieten down a lot.  Results skewed by having exhaust in test area.

Max = 70-80 dB
Min = 60-70 dB

Heat output:

Min or Max outlet temperature between 110 – 130 oC.  Higher settings results in more flow at the same temperature.

Questions from comments

Will it run on Kerosene / Parrafin /Petrol  / etc?

Kerosene – Yes
Parrafin – Yes
Petrol – Yes

Can it be run from a Li-Ion jump starter?

Yes.  It’ll start up and run.  The problem you will have is when the battery pack battery gets low and just shuts off.  The heater will just stop dead and won’t run the fan for the cooling cycle.  Damage to the unit may occur.

What happens when it runs out of fuel?

It stops and an error light is displayed on the controller.  You have to remove the fuse and put it back in again to get it to work again.

Will it stop if the battery voltage falls?

No.  I ran the voltage all the way down to 6 volts and it keeps running.  Anything less than 6 volts and it stops dead.  No cooldown, just off.  Damage may occur.

How do I prime it?

Plug it in.  Turn it up to max.  Press and hold the OFF button for 5 seconds.  The pump will start running.

Waste Oil Burner

So I’ve had a few attempts at oil burners.  With varying levels of success.  The current burner uses a US Marine tent heater and a centrifugal fan.  It works but is a pain to light and can be fussy about staying lit.

Now I’ve moved onto a siphon nozzle type of burner.  Using compressed air it mixes the air and oil into a fine mist for burning.

Works fabulously on diesel with no modification.

Didn’t work so well with waste oil.  Even heating the oil.

But it did work with the application of a burner tube around the nozzle.  I’m guessing the turbulent air helps keep the flame lighting the oil air mix.

Next stage is refining the burn tube and oil feed for a better burn.  Less unburnt oil spray would be good.

Subaru Impreza WRX STI LED DRL Retrofitting guide

Here is my basic guide to fitting.  You may have a better or different way.

The video

The images.

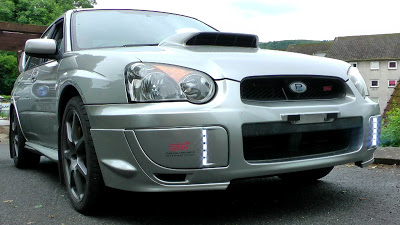
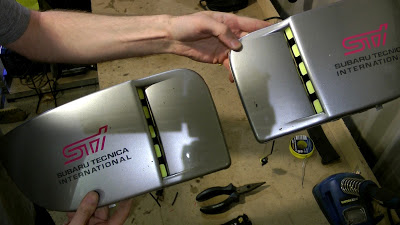
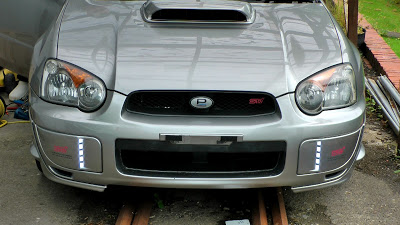
Looks almost like it’s supposed to be there.

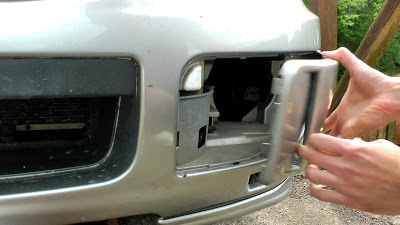
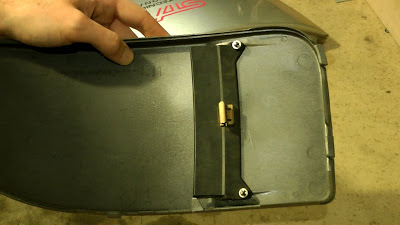
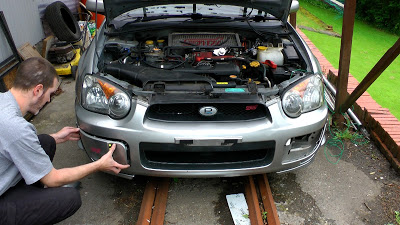
Remove the stock covers, they just pull off.

Using a pick or small screwdriver, remove the clips holding the flap on.

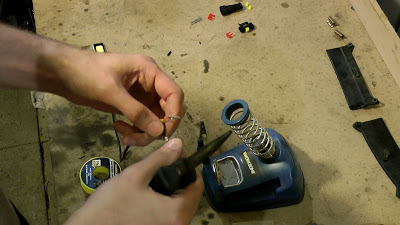
I attached waterproof plugs to the ends of the LED modules.  This means you can remove the covers if you need to.  For example to use the towing eye.

Using hot glue go round a fill any holes at the rear of any plugs you have used.

Again using the hot glue gun.  Attach your LED modules to the covers.  Depending on what modules you buy will depend how they attach.

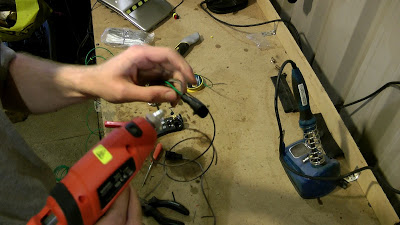
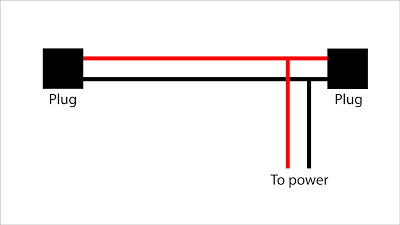
Now make a wiring look that will connect the two modules to each other and to a power source.  Basically a plug at each end, but one plug has another two wires attached that go to a power source.

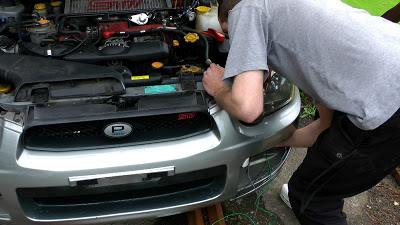
Feed the wiring loom across the front of the car (from one hole to the other) and then up into the engine bay.  There is a gap under the headlight.

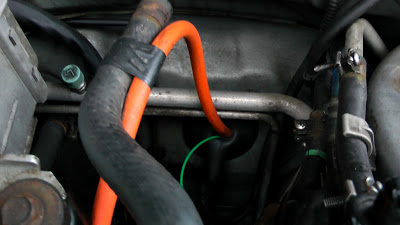
Push the power wire through the bulkhead grommet.

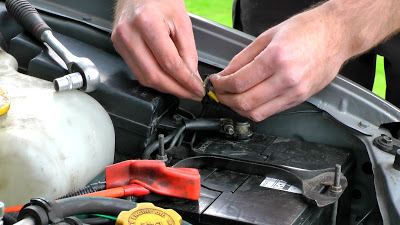
For the ground wire attach an eyelet and fit to the ground point next to the battery.

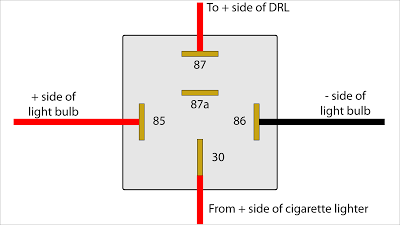
Now here is the slightly complicated bit.  Making the loom for the relay that turns the DRL off when you turn your lights on.  If you don’t want that, just wire them straight onto the plug behind the cigarette lighter.

How it works – Using a 5 pin relay (one that has a set of normally open and normally closed terminals).  Connect the pins 85 and 86 to the light bulb at the cigarette lighter.  Connect pin 30 to the + side of power for cigarette lighter socket.  Pin 87 connect to the wire you ran through the bulkhead.  It’s the + source for the DRL.

In this configuration the DRL is given power as soon as you turn the car on.  When you switch on you lights.  The light at the cigarette lighter turns on and this activates the relay switching the output from 87 to 87a.  This makes the DRL turn off.  We don’t have anything connected to 87a.  Just tape it up as it becomes live when you have your normal lights on.

If you wanted to install interior mood lights for example, you could connect them to the unused pin 87a.  That would provide them with power only when you turn your normal lights on.

Now just fit the covers with the LEDs in place.

Turn the key to position 1 and see if they work.

If they do, smashing.  Now turn your lights on and see if they go out.  All that’s left is a tidy up.

Rocket Stove Heater

It’s winter, it’s cold and I like burning things.  So what better way to heat the workshop?  A rocket stove heater.

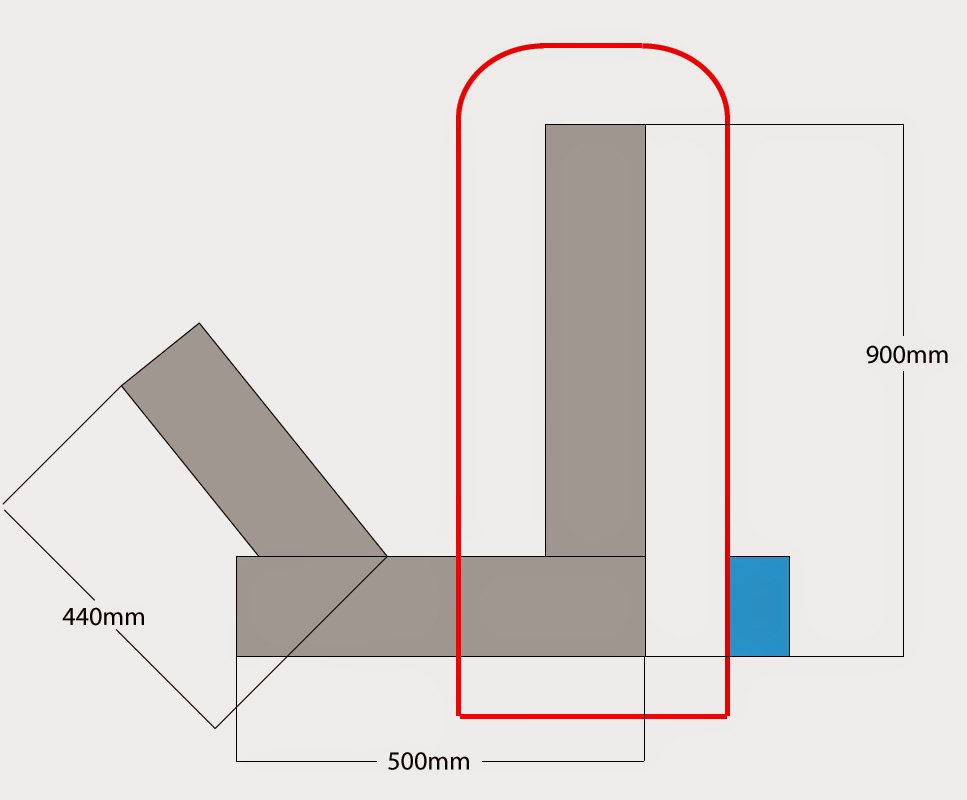
Build from and old gas bottle, angle iron welded together to make box section and designs I made up from watching other YouTube videos.

A picture with dimensions

It’s DIY time

Me and little brother are doing some DIY at the moment.  As I’m always up for learning some new skills, and the chance to improve my YouTube channel, I lend a hand.

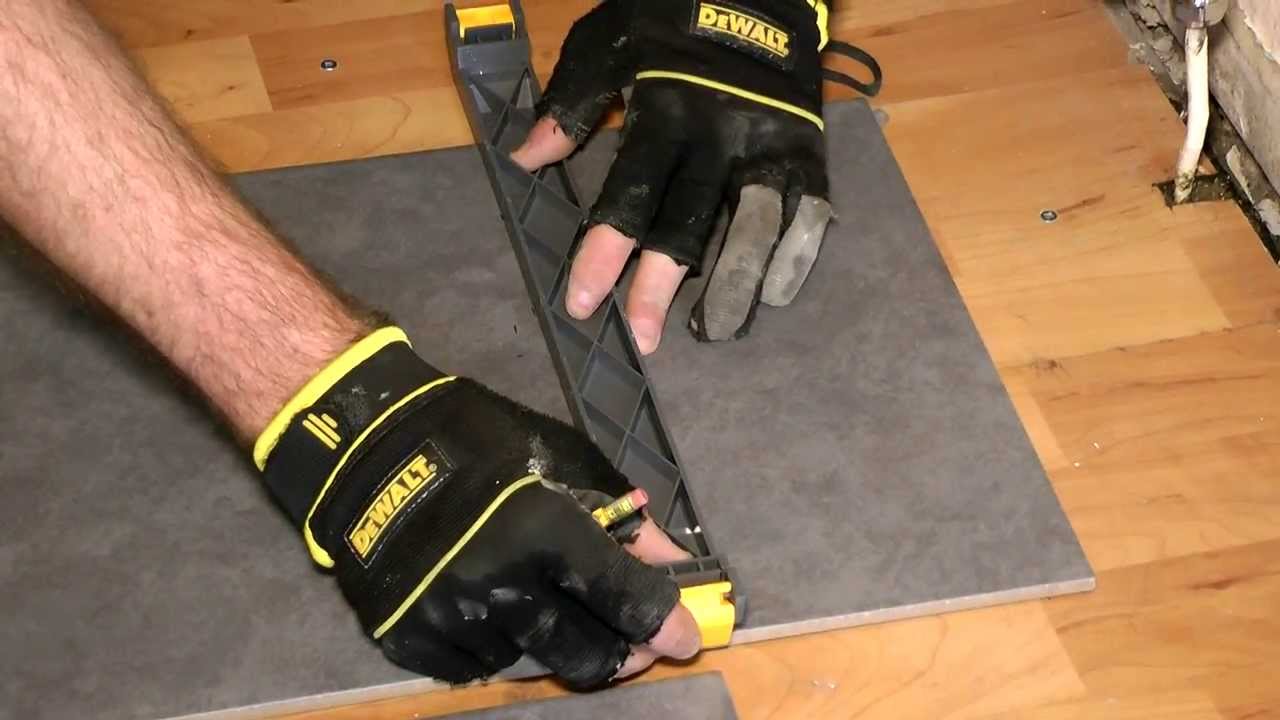
Our first endeavour was to tile the floor of his kitchen and hallway.

YouTube player


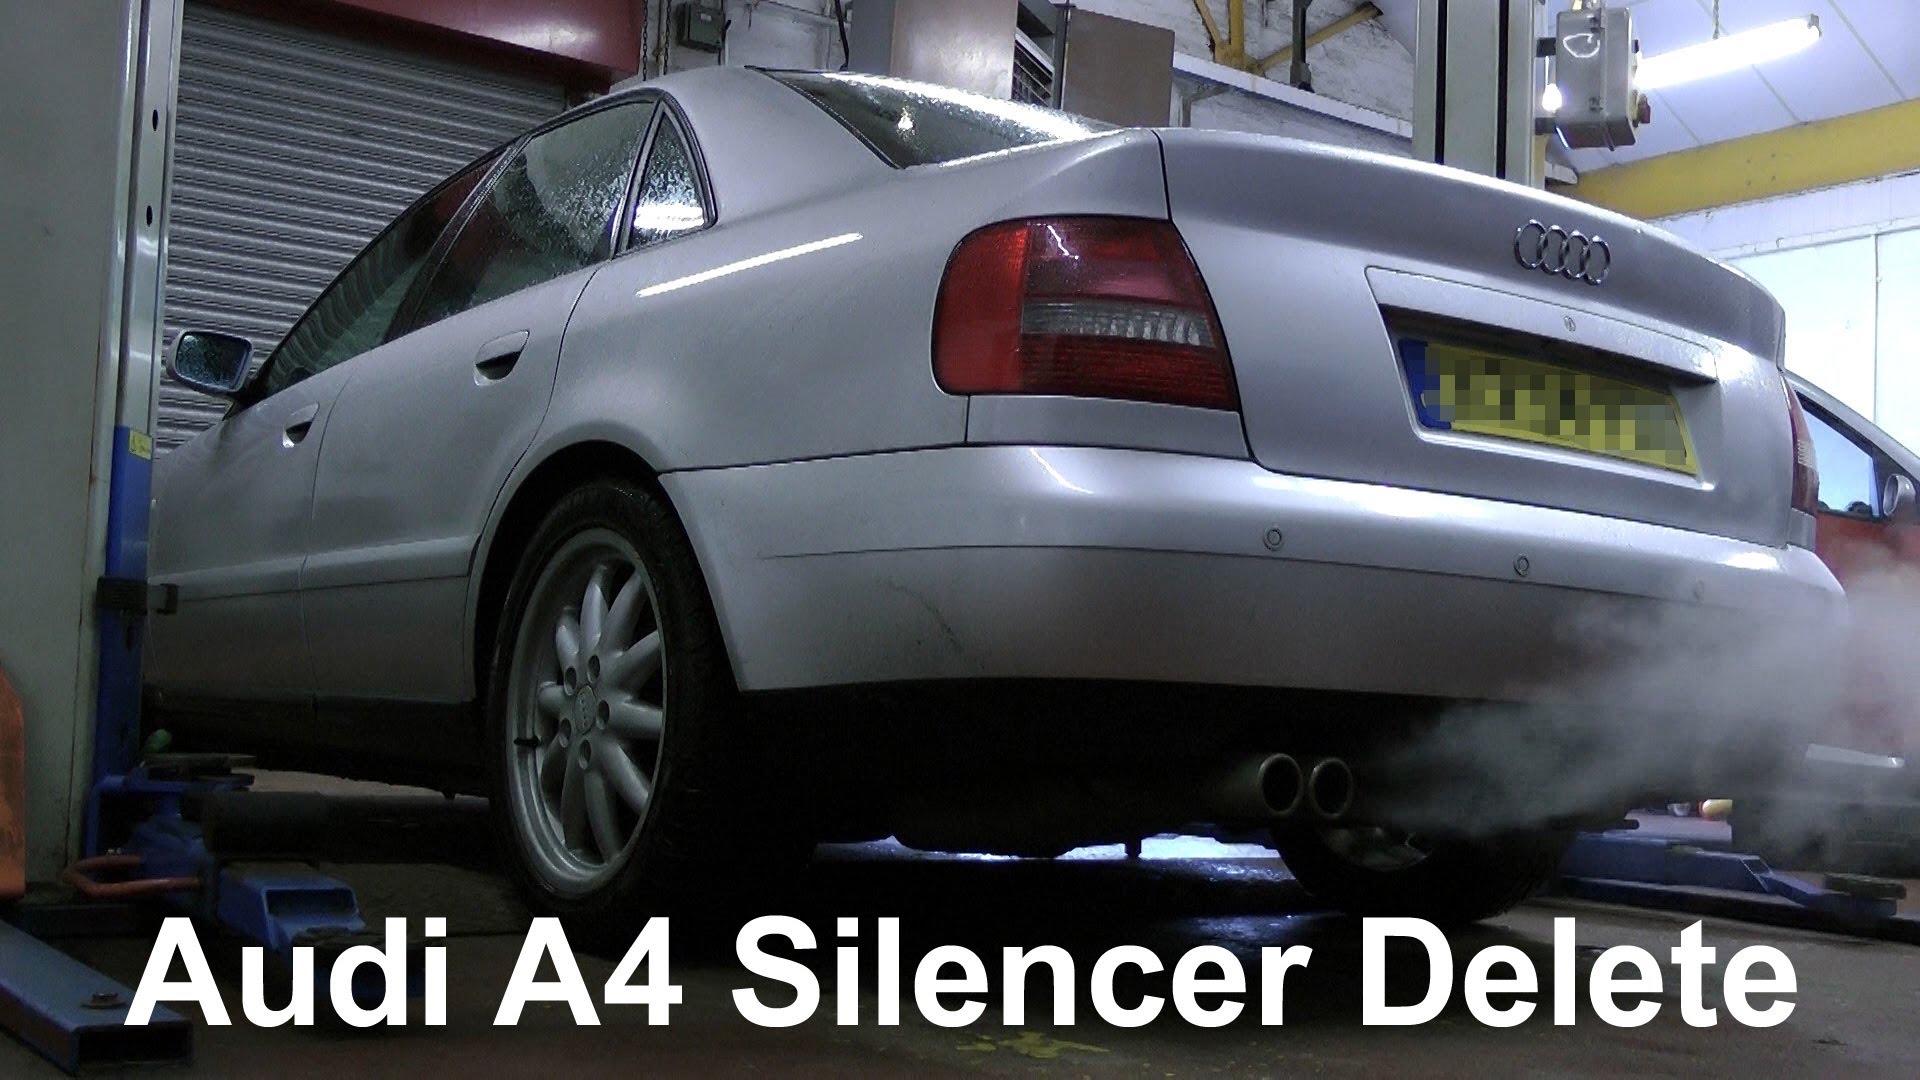
Silencer Removal

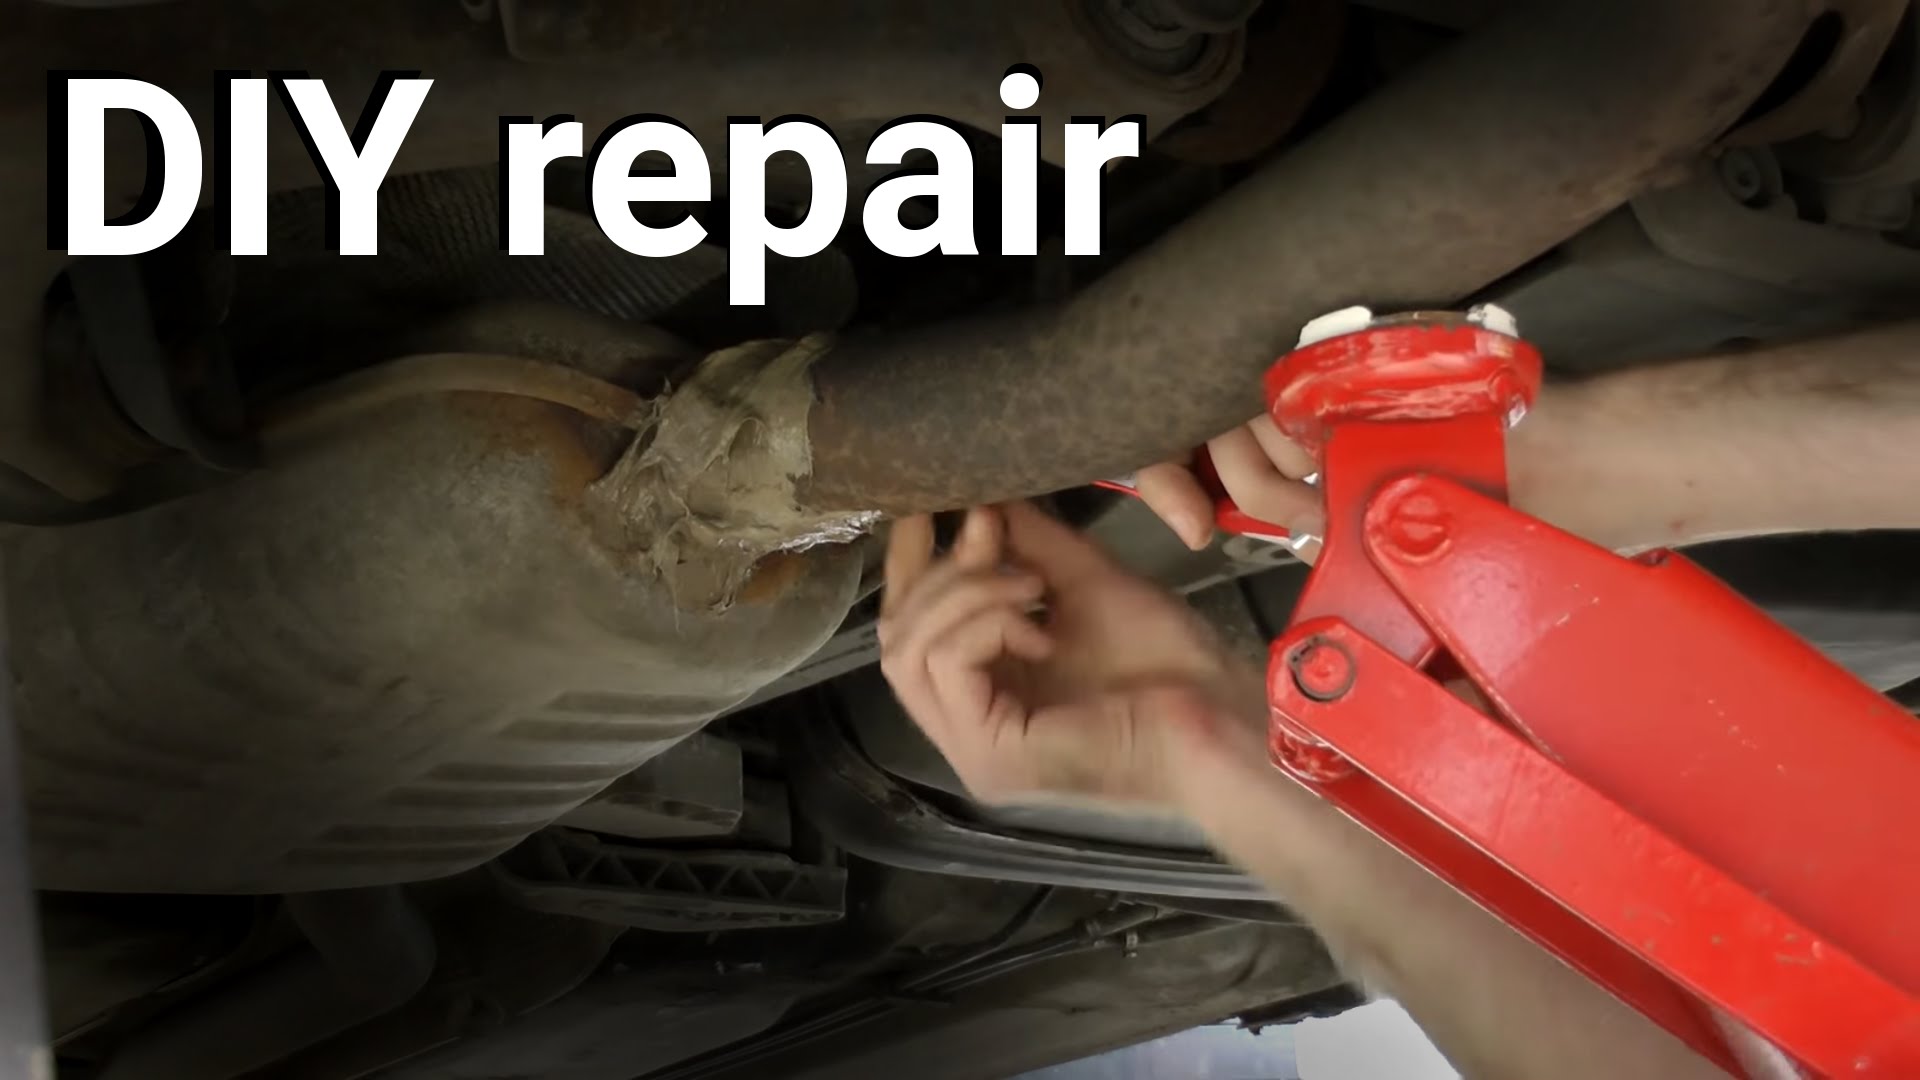
So the Gun Gum worked fine for a few hundred miles.  It would probably last longer if you don’t drive like me.

Time for the centre silencer to come out then.  I found on eBay a flexible exhaust pipe.  Unfortunately it turned out to be a pain to weld so next time I’ll just use mild steel pipe.

In the end it worked.  Sounds a bit rumblier.

YouTube player

Social media & sharing icons powered by UltimatelySocial